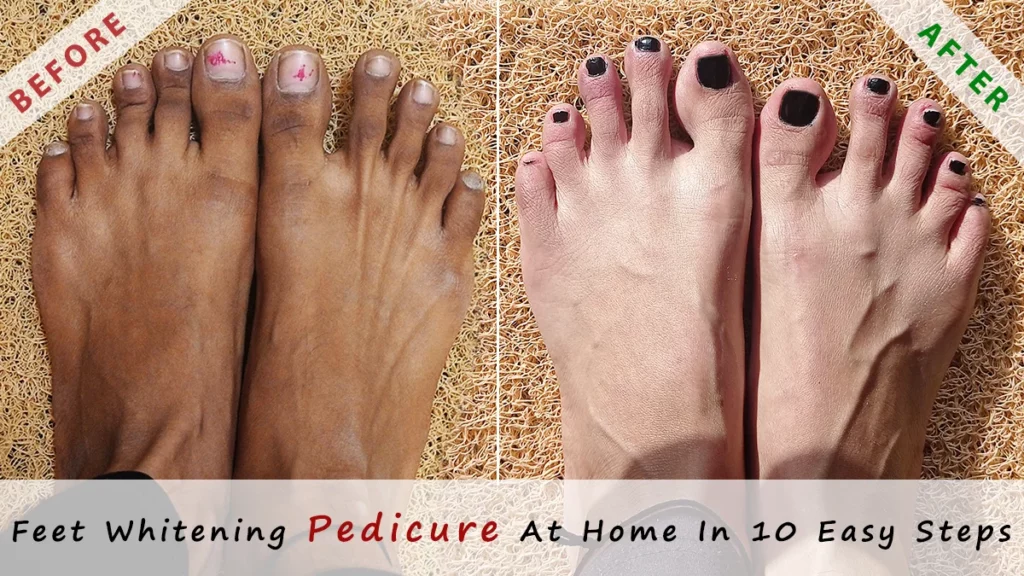
We make all the effort to be well-dressed and well-groomed, but when it comes to our feet, we completely ignore them. Negligence like regular moisturizing, cleansing, and pedicuring can lead to problems like dry, sore, or cracked heels.
We will guide you through the essential components of a DIY pedicure. So you can do a tan removal feet whitening spa pedicure at home, and witness a marked difference in your feet’s appearance before and after the process. Ultimately, this method affords the luxury of a pedicure without needing to visit a spa.
Table of Contents
Feet Whitening Pedicure at Home in 10 Easy Steps
Ingredients
Before starting a salon-style pedicure session at home, look at the tools you need for it-
- Nail polish remover, Nail cutter, file, and buffer
- Foot file or pumice stone for calluses, Foot scrub
- Moisturizer, Bodywash, Cuticle oil, lemon
- A tub filled with lukewarm water, apple cider vinegar
- Clean towel, Cotton pads, Base & top nail coat
- Toe separators, Your favorite nail polish
- Rose petals and essential oil ( optional )
Now you are ready for an at-home pedicure, let’s see how to give yourself a salon-style pedicure in a few simple steps.
Step 01: Prepare your nails
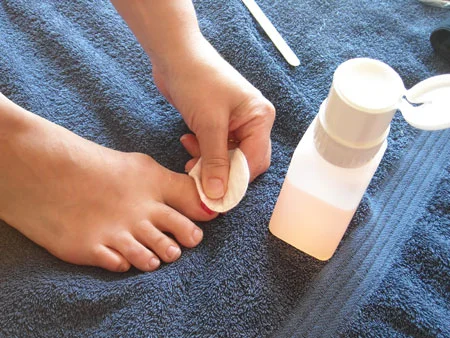
For a clean, salon-style pedicure, it is imperative to prepare your nails. To do so, you need to start with adequately removing any nail polish that’s still on your nails using a nail polish remover and a cotton pad.
And even if you don’t have any nail polish on, it is necessary to clean each nail using your nail polish remover to get rid of any accumulated dirt or other impurities. It will help the nail polish to stay longer on your nails.
Step 02: Soak your feet
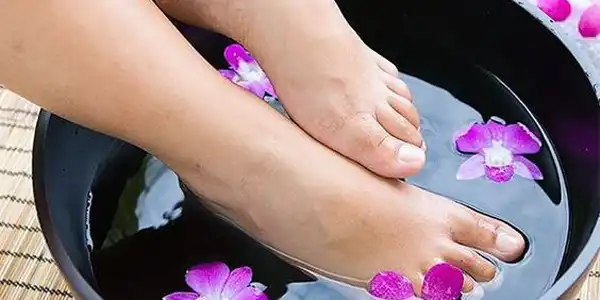
Once you’ve cleaned your nails, it is time to dip your feet like you’re at the spa. This step helps soften the hard skin around your nails and on your feet.
For a DIY foot soak, fill a tub with lukewarm water and add apple cider vinegar ( if you don’t have it, add 1 tsp baking soda), body wash or shampoo, and one lemon juice and mix it well (Baking soda and lemon work great on dead skin).
To give a spa-like experience, just put some rose petals and essential oil, or you can add coconut oil. Let your feet soak and relax for about 15 minutes. After that take your feet out of the tub and gently pat them dry with a towel.
Step 03: Get rid of dead skin
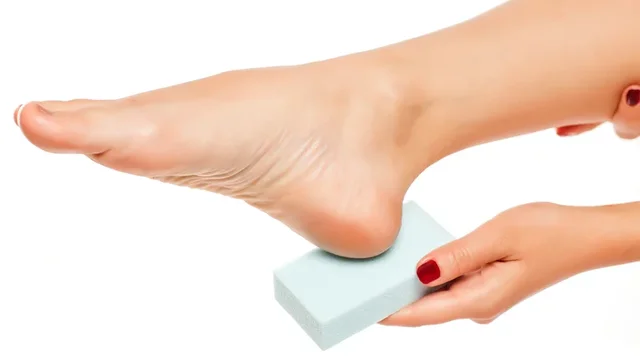
After drying off your feet, use a foot file or pumice stone to remove any rough, dry, and dead skin from your calluses. Pay attention to the sides of your feet, the balls of your feet, and your heels.
Gently scrape these areas until they feel smooth. If you do not remove this repeatedly, the skin becomes hardened, causing cracked feet.
Step 04: Exfoliate
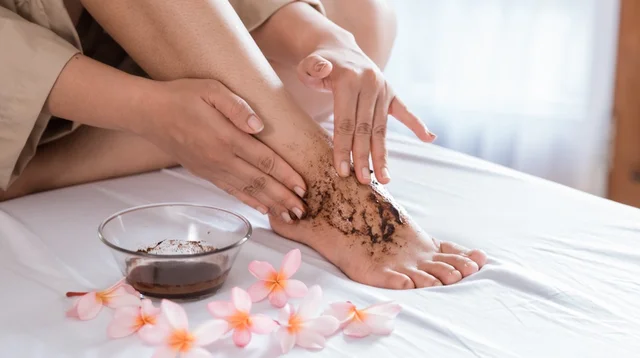
Now it is time to exfoliate your feet. You can buy a foot scrub or prepare your DIY foot scrub using natural ingredients. To make a natural DIY foot scrub at home, you will need the following items –
- 2 tbsp crushed sugar
- 1 tbsp honey
- 1 tbsp gram flour
- 1 tbsp coffee powder
- 1 tbsp lemon juice
- 1 tsp milk cream
Mix the gram flour, coffee powder, and crushed sugar. Add the lemon juice and honey to the mixture, and mix well. Finally, add the milk cream and apply the scrub to your feet and sit for 15 to 20 minutes.
Now wet your palms and scrub heels, soles, ankles, and areas between the toes and the sides of your feet for 5 minutes. Then wash your feet with cold water.
Step 05: File your nails
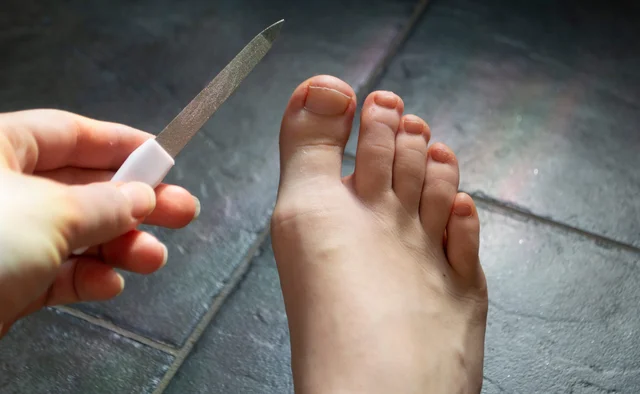
Now, time to clip your nails using a nail clipper, but make sure you cut across straight. Don’t cut corners too deep. Use a nail trimmer to achieve the length and shape (square, oval, or pointed) that you want.
After you’ve trimmed your nails to the desired shape, take your nail buffer and gently buff your entire nail bed to even out the surface and get rid of uneven edges, if any. It will ensure that the nail polish will go on smoother.
Step 06: Apply a bit of cuticle oil
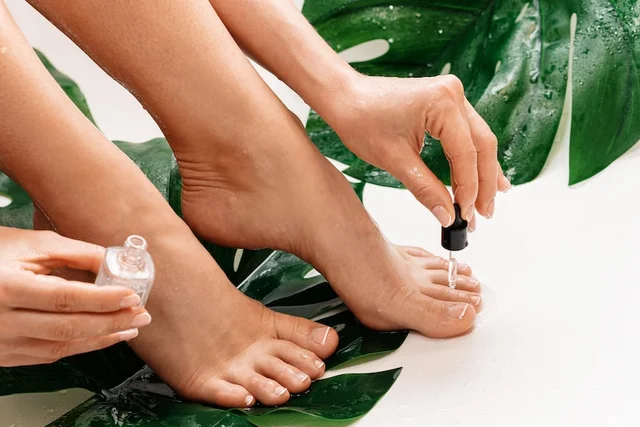
Cuticle oil helps to keep your feet soft and moisturized and prevents your polish from chipping. After trimming and buffing your nails, gently apply a bit of cuticle oil to the skin around your nails to protect them. It keeps your nails strong and healthy.
You can also use a blend of jojoba oil, sweet almond oil, rice bran oil, and vitamin E to make your cuticles soft and smooth.
Step 07: Give your feet a good moisturization
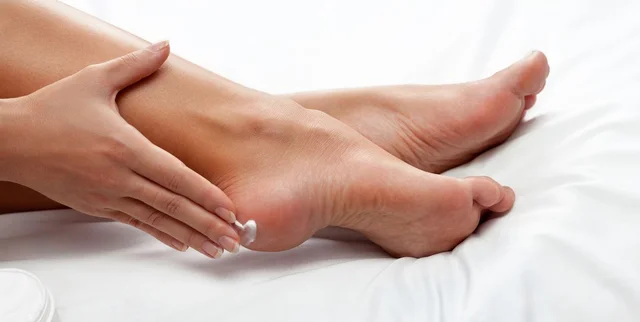
Take some foot cream or a rich body lotion and apply it all over your feet, ankles, and calf muscles. Massage the product into your skin to make it hydrated and smooth.
A good foot massage also helps to relieve tension and stimulate circulation. This process is necessary as your feet are required to pamper a little bit after that soak and scrub. Use a cotton pad to remove any excess oily residue from the nails as it helps the polish last longer.
Step 08: Apply a base coat to your nails
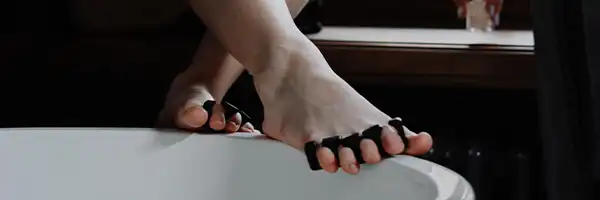
Don’t skip this step, as it’s crucial if you want your pedicure to last, as the base coat provides a barrier between your nails and the polish. Use toe separators to make painting your toes easier and mess-free.
Apply a thin layer of base coat on your nails. You can also apply clear nail polish if you don’t have the base coat.
Ignoring the base coat makes your nail polish stain your nails. Basecoat also helps restore the moisture that your nails need to stay healthy.
Step 09: Paint your nails
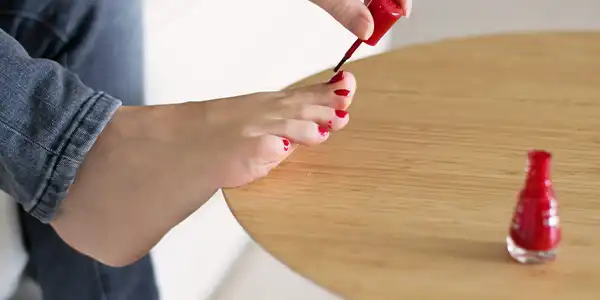
After the base coat dries, you’re ready to style your nails with your favorite color. Apply at least two coats of nail paint. Make sure that each coat has dried before applying the next.
Apply nail polish in thin and even strokes as thick strokes will make the paint look abrasive and take more time to dry.
Step 10: Finish with a topcoat
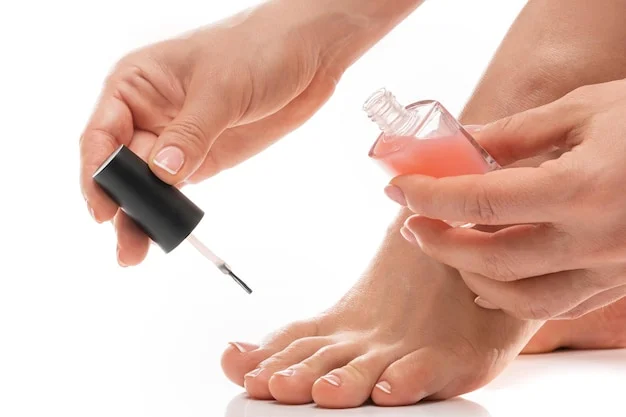
The final and vital step for a long-lasting pedicure is applying a topcoat. Once your nail polish has dried down, apply a thin layer of top coat to seal everything in place. And with that, your salon-style at-home pedicure session comes is complete.
